

So I promised in my last post that I'd talk about the other version of the t-shirt bracelets I made next time. Well that was like 2 weeks ago, and I'm finally getting around to doing just that! Things have been hectic around here with Finals week coming up and such so I havent really had the time.
If you want to read about how I made the first version, you can do so here.
So lets get started on the loopy version 2! (Ignore my terribly chipped nails please! I'm way too impatient to ever let them dry all the way and they ALWAYS get messed up!!)

I used the same sort of strips in this one as the last one. Take your old t-shirt and cut off the bottom hem. Then cut strips about 1/2 - 1 inch wide across the bottom. I cut these at one side so they would be one long strip instead of a circle. Then grab both ends and stretch the strip out to make it longer and sort of curl up. My strips ended up being about 4 ft. long. You can see one in the photo below.

Now you're going to want to make a small hole in one end of the strip. Just fold over the very tip and cut a small snip on the fold.

Take the un-snipped end and feed it through the snipped end to make a loop. Pull the end though the hole until you have about 4-5 inches out.


Now just coil up the remainder of the loop by twisting/folding so it is a bunch of loops laying on top of eachother. The number of times you can do this depends on the length of your strip and how big around it needs to be to slide it over your hand and to your wrist. Remember the fabric will stretch some, so dont worry too much about it fitting over your hand, just make it the tightness you want it to lay on your wrist.

Now you're going to take the excess fabric you pulled through and wrap it around the loops to hold it all together. Start off a little bit away from the base of where your excess goes through the hole, then wrap towards the base until you have the end of the side with the hole completely covered. Leave a little bit of the end unwrapped. About 1 - 1.5 inch will do. You might want to give the loops a bit of a twist here so they hold together a little better in the finished product. Unless you want it to look like all separate strands, in which case, dont! Itall depends on what you want it to look like!

Find the needle with the biggest hole you have. Feed the end of your unwrapped fabric through this hole like you would thread. (This is where that big hole come in handy.)


Now you're going to secure the end by pushing the needle through the coils of itself where it is wrapped around, and pull it through. Be careful to only go under the coils, but not stab through any of the fabric, because then your strip wont fit!


Pull it pretty tight and snip off the extra fabric.
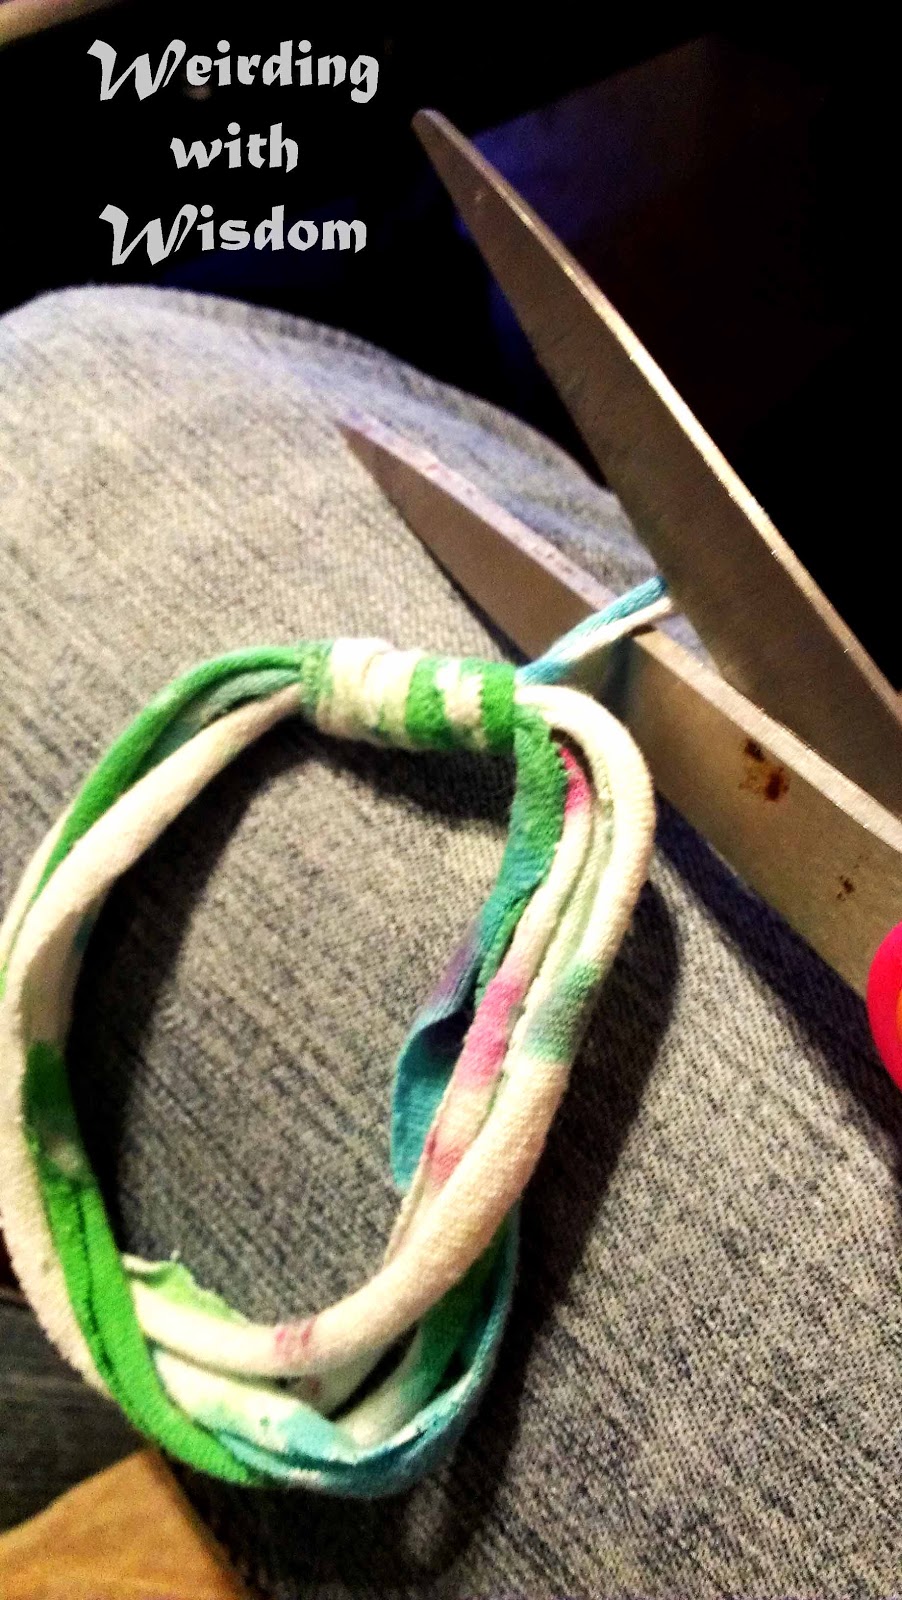
And now you're done! The finished product should look something like mine below. You can kind of see how I had twisted the strands together so they wouldnt flap apart in the earlier step. If you want to extra secure where it is held together, put a dab of hot glue on the end. Depending on how tightly you wrapped it around you may or may not need this.
Here it is paired with the braided version I did in the first post!

For reference, my boyfriend got the one I made for him very dirty at a construction job. Since it was made of t-shirt material, I figured I could just pop it in the wash along with laundry and it would be fine. Good news: both versions held up great after going through the wash. So if you ever need to clean yours, just throw it in the laundry!
I'd love to hear about and see any versions you make! If you have any other suggestions for what I can do with the rest of my t-shirt, please let me know! I love feedback!
No comments:
Post a Comment