
 |
| Image courtesy of [digitalart] / FreeDigitalPhotos.net |
.png)
This guy to the left here, this is Link, from the Legend of Zelda franchise. He was my inspiration for this costume. LoZ has always been my absolute favorite video game franchise, so I decided to honor it this year by going as Link.
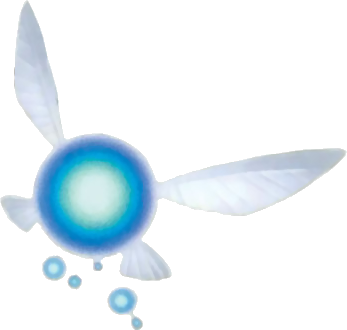
And this blue ball with wings to the right? Thats Navi, Link's fairy companion. I decided that my boyfriend would go as her to complete the image. :)

Break out the trunk-o-junk, my crammed full, completely unorganized crafting supplies storage!

To start off, I got this XXL green t-shirt for like $5. I'd use this as the base for the costume.

I laid a dress and t-shirt that had similar fit to what I wanted down on top of the shirt to see how it would be laid out.

I traced the outline of the dress/shirt with chalk and removed them. I actually traced about 1/2 an inch outside the clothes to leave seam allowances.

Then I cut it out! I cut through both sides using a rotary cutter. I left the bottom hem intact and most of the top edge.

Patches was super helpful, as usual.

Then I cut the neckline. This part I had some issues with. I started out trying to make a neckline like you can see in the image of Link back there at the top, which was sort of squared off with a V in the middle. Well, I cut too far and it was no longer fitting properly. So I had to take another bit of extra fabric that had been cut off earlier and sewed the whole thing on where I had cut off before. I decided to make that side the back so that it wouldnt be so obvious, and just made the back, now the front, into a simple V.
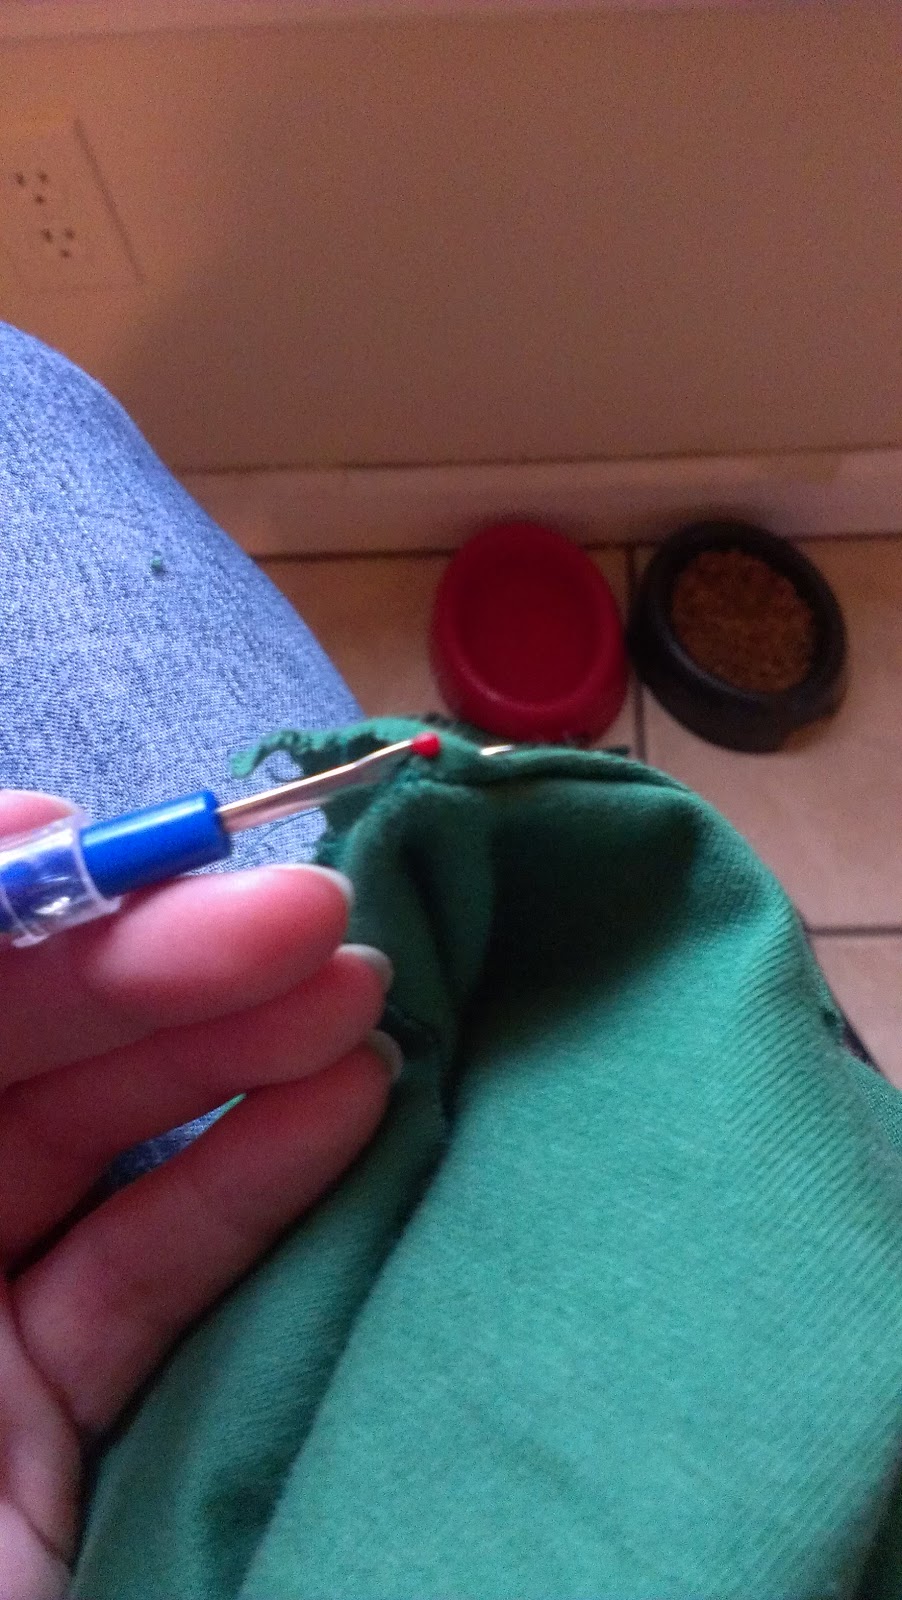
I turned it inside out, sewed up the side-seams, and closed off the bit of the sleeves that was left open. I also hemmed the sleeves because they werent looking quite right as is. Of course, I managed to sew one of them the wrong way out, and had to rip the seams and re-do it.
Hey, these things happen!

I took the leftover bit from the shirt, you can see the sleeve here, to make the hat. It was pretty easy, where the little triangular bit coming off the top of the sleeve is I just sewed that down, and closed up the whole other side, making it taper down to a point at the bottom. The end result is in the photo below. It wasnt perfect, but it would do without having to buy more fabric.
Luckily, the hole of the sleeve fit my head perfectly!


And then it was time to accessorize! Specifically, accessorize for cheap! You can see to the left the iconic Hylian Shield that Link carries to battle, and I wanted to capture the feel of that. However, these things are very expensive if you're going for cosplay quality.


Well, I wasnt going for cosplay quality. I made my Hylian shield out of cardboard. Then I cut the shape out of printer paper and drew on the design. As for holding it, I wanted to keep it simple. I just hot-glued another bit of cardboard to the back so it would fit in my hand.
I had two brown belts to use like Link has, one around my waist, and one around my back. They also functioned to make the rather bland green tunic/dress a bit more interesting. I didnt have a sword to strap to the belt around my back, but it worked anyway. Then I threw on some white sweatpants and my black (would have preferred brown, but black is what I had) boots and was ready to go! I also had some brown leather gloves I planned on wearing, but I ended up forgetting them when I left for the party. It was a bit too warm out for them anyway.
 The boyfriend's costume was much simpler in some ways, and more complex in others. It actually probably took me the longest out of everything else, but it wasnt exceedingly complicated. I drew some wings roughly the same shape as Navi's, with two bigger ones on top and smaller ones on bottom. Then I traced these out onto printer paper and colored them light blue with colored pencil. I did 8 total, for each side of each wing. Since the top parts were larger than the paper, I had to do it in pieces. It worked out OK though, you cant even really see the seams in the picture I took, so they must not have been too noticeable. Then I glued all the paper bits onto their respective sides of the wings.
Then I cut out a little square of cardboard and hot-glued the wings to it in the proper shape. To keep it on him, I hot-glued some elastic straps to the "inside" of the cardboard square. He just wore a blue-ish shirt and blue-jeans to complete the look. (Tried to convince him to let me spray his hair blue, but he wasnt going for it. Loser!)


What did you do for Halloween? Make any cool costumes? Or fun Halloween-y recipes or decorations? Please share, I'd love to hear about it!
Your Zelda costume is fierce! Love it. (The expression on your bf's face is priceless.) Congrats on approaching your two year anniversary!
ReplyDeleteThanks for all of the comment love on my blog. So happy you entered the giveaway. I would have commented there, as well, but I'm trying to hold back my comments on that post in particular...wouldn't want MY comment to be selected! ;-)
Happy blogging to you!
Thanks for visiting, and thanks for hosting that giveaway! Fingers crossed! :)
DeleteLove your Zelda costume! Following you now, thanks again for stopping by my blog:)
ReplyDeleteKatie
www.funhomethings.com
Yay, thanks for the follow! I tried the flavored coffee thing this morning with some pumpkin pie spice, it was amazing! :)
Delete